







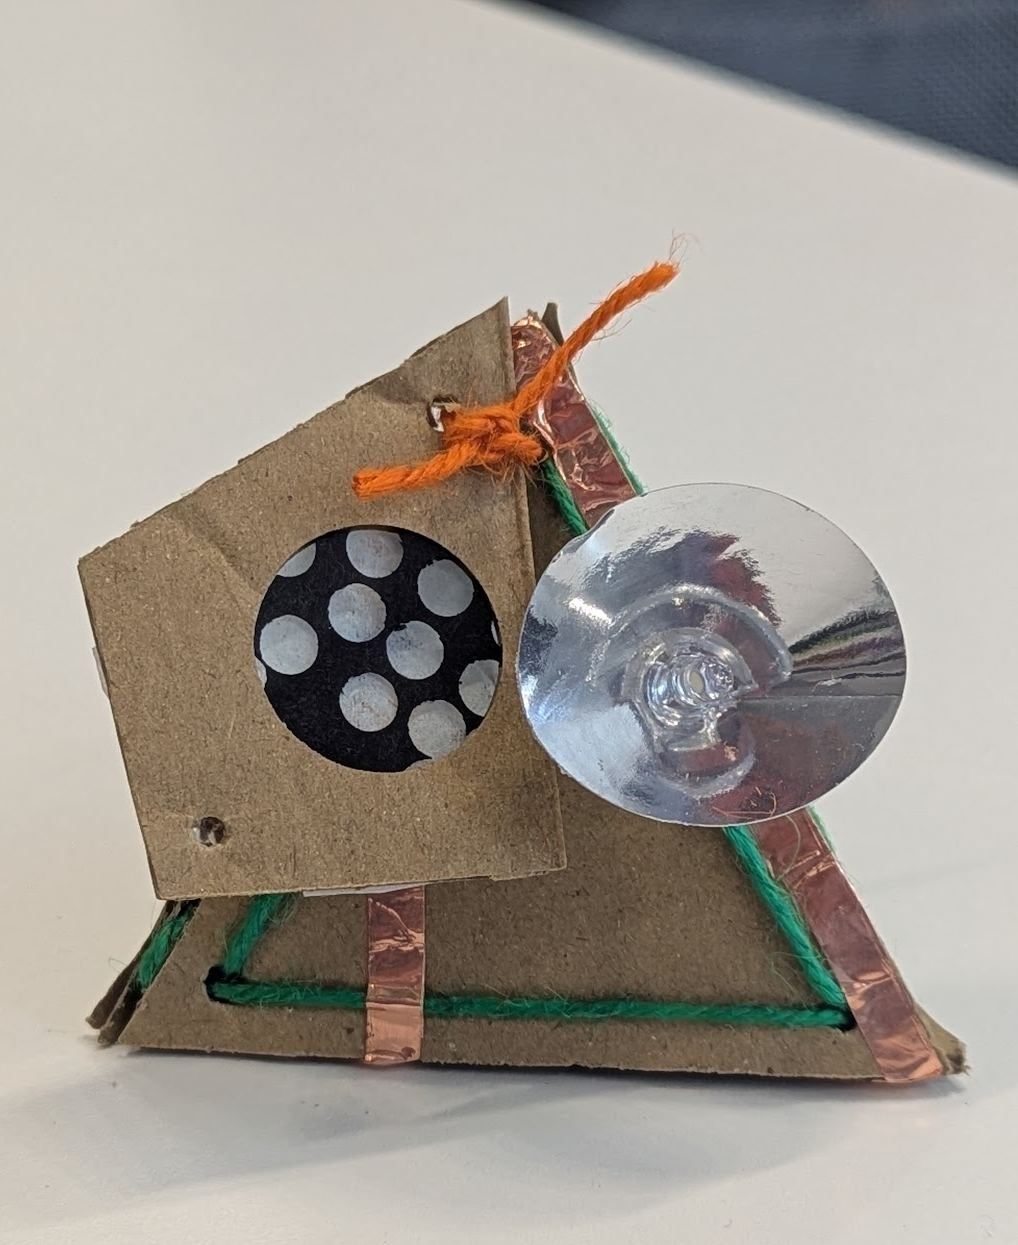
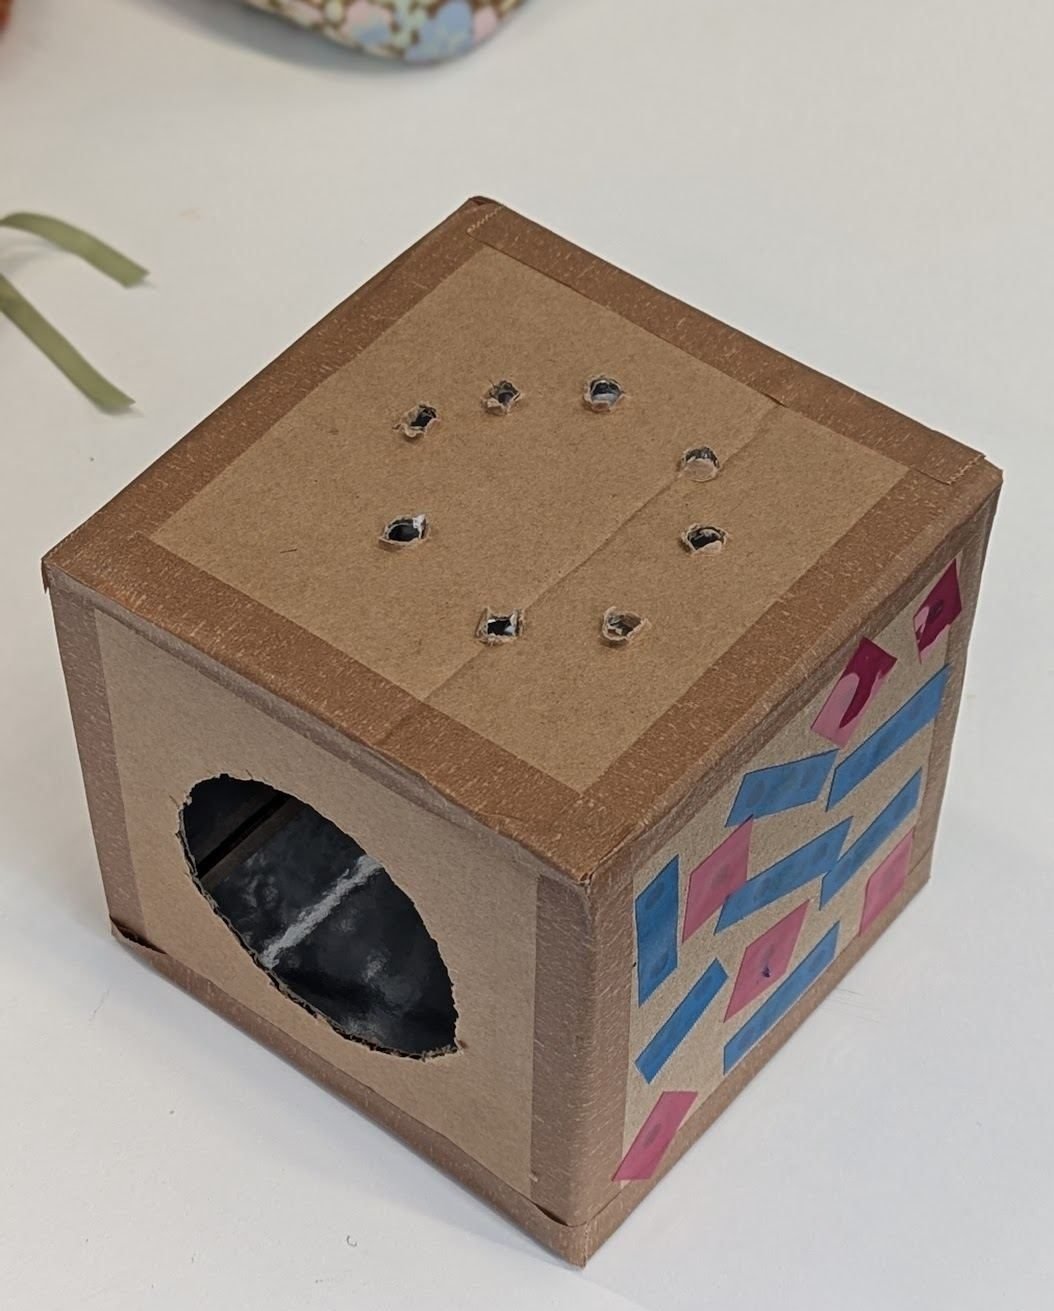
Give it a brain
Light-up card with a paper circuit
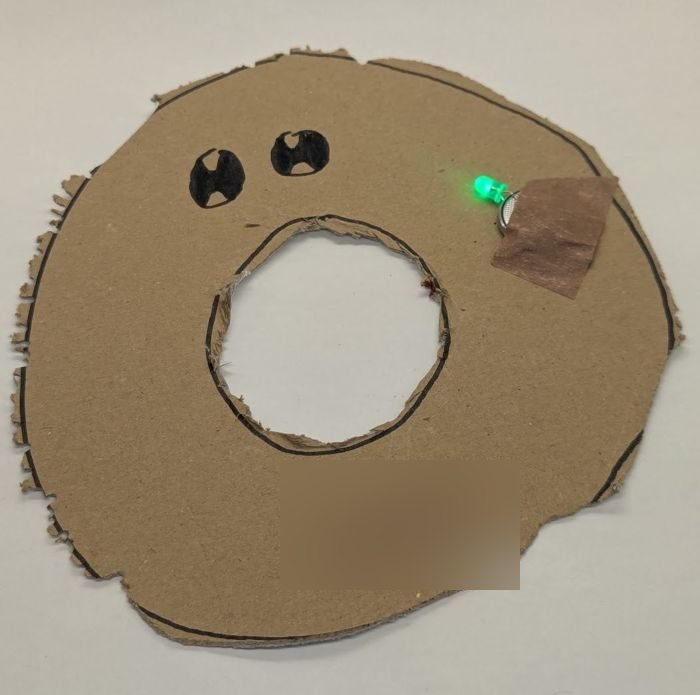
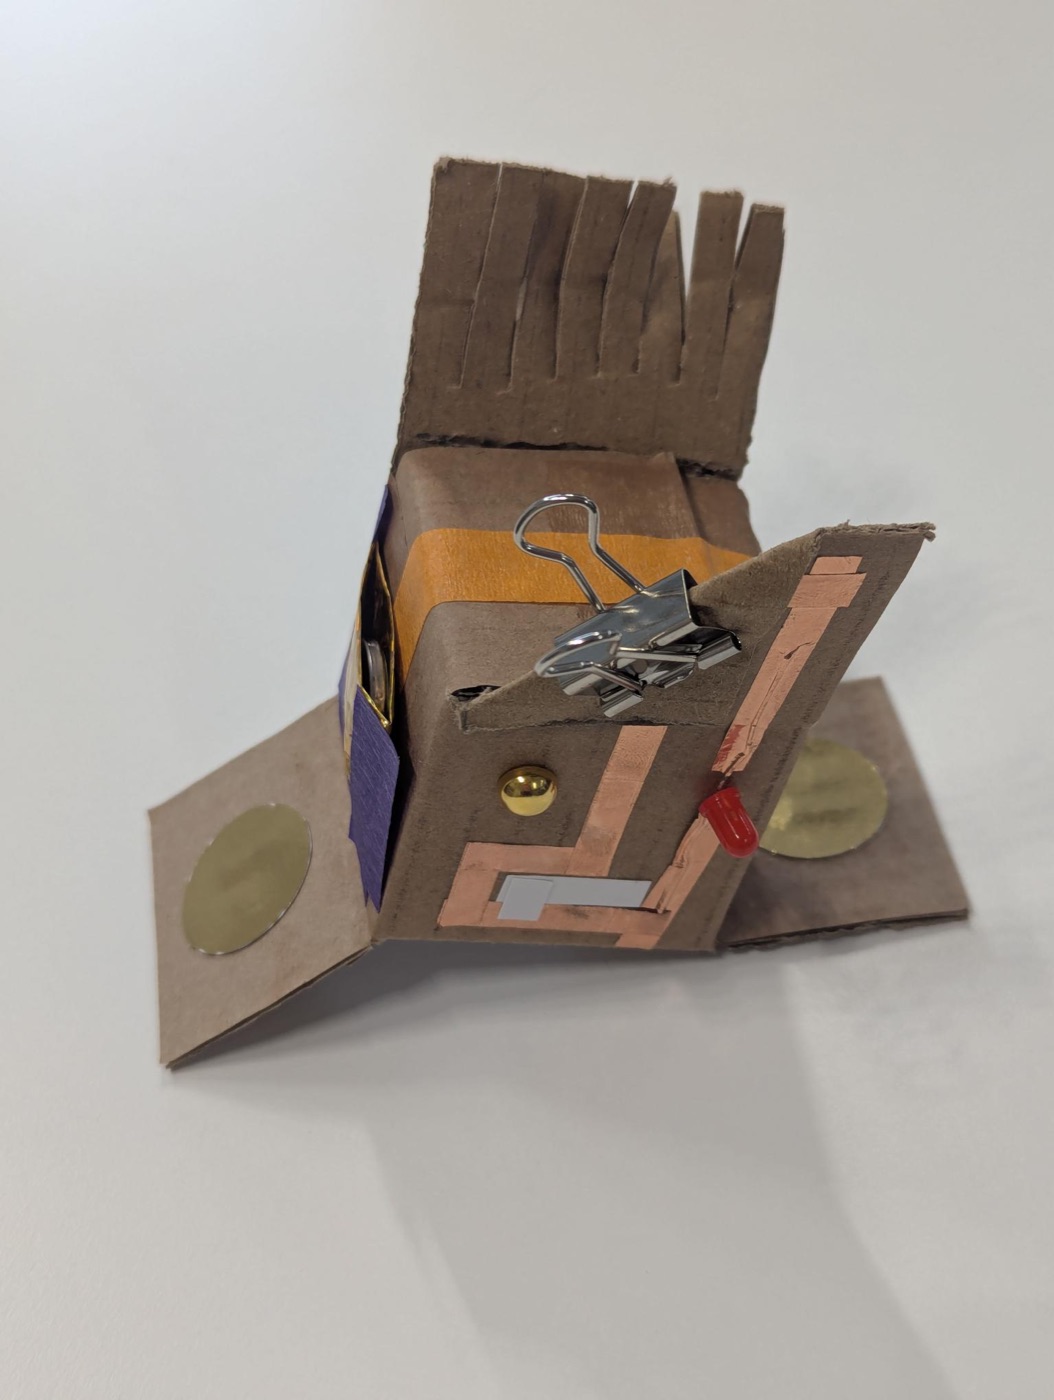
Join an LED to a coin cell battery with copper tape. Fold down a card flap and the LED lights; lift it and the light goes out.
- About 45 minutes
- 6 steps
One step at a time, in big writing.
Before you start
What you need
Make it
The steps
Everything goes on the front of your card: the LED, the tape and the battery.
How it works
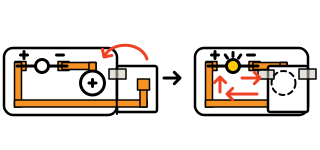
Electricity flows from the battery, along one copper strip, through the LED and back along the other. It only flows if the path has no gaps, and only one way through the LED, so the long leg joins the + side. If the strips touch, the electricity skips the LED. The flap is a switch: down closes the gap, up opens it, and that on or off is a signal, like the ones a micro:bit sends.

Step 1: Test the LED on the battery
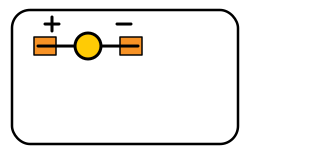
Slide the LED's legs either side of the battery: the long leg on the + side, the side with the writing. Does it light?
Step 2: Stick the LED on your card
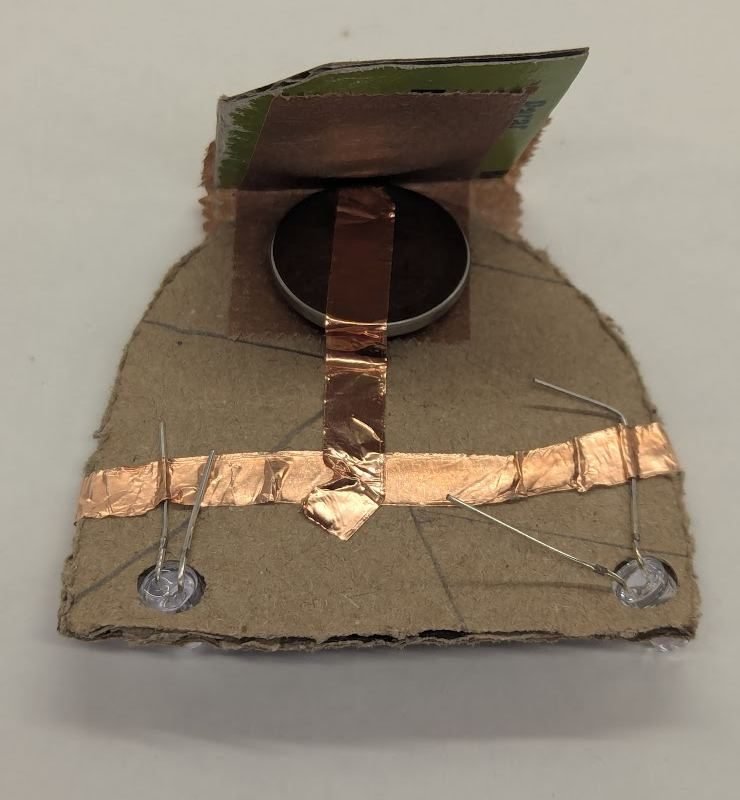
Draw your shape and choose a spot for the light, at least 2cm from the edges. Stick two small squares of copper tape there, about 1cm apart. Bend the LED's legs flat out to the sides, once only, and sit one leg on each square. Write + by the long leg and − by the short leg in pencil.
Step 3: Lay the copper strips
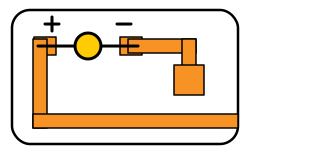
Lay a strip of copper tape from each leg, over its square, so the leg is sandwiched. Peel off the backing a little at a time and press the tape flat. End the − strip in a square about 2cm across, for the battery. Run the + strip to the edge of the card next to the battery square. Keep the strips apart everywhere.
Step 4: Make a card flap
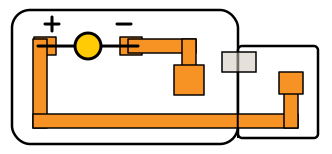
Tape the small card to the edge beside the battery square with brown paper tape. Carry the + strip onto the flap, to the spot that folds onto the square. Does the copper land on the square when you fold it?
Step 5: Put in the battery and close the flap
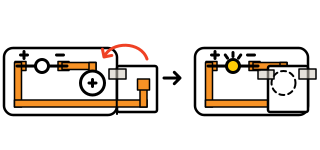
Put the battery on its square, + side up. Fold the flap so its copper presses on the battery. Does your LED light? Hold the flap shut with a binder clip or masking tape. Lift it to switch off.
Step 6: Invent your own
Make your own light-up thing. Where else could your robot have a light?
After the steps
Use it on your robot
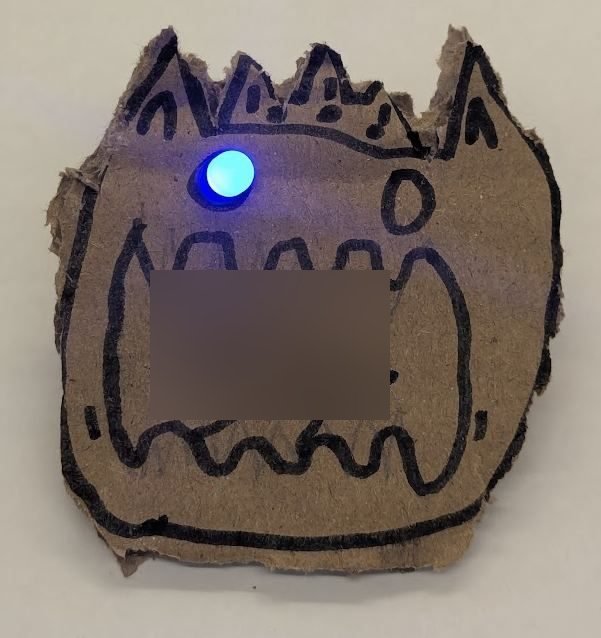
Build the circuit on a small card and glue it to your robot's head for an eye.
For ideas
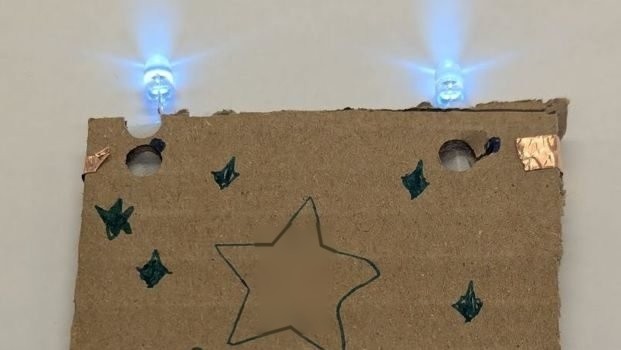
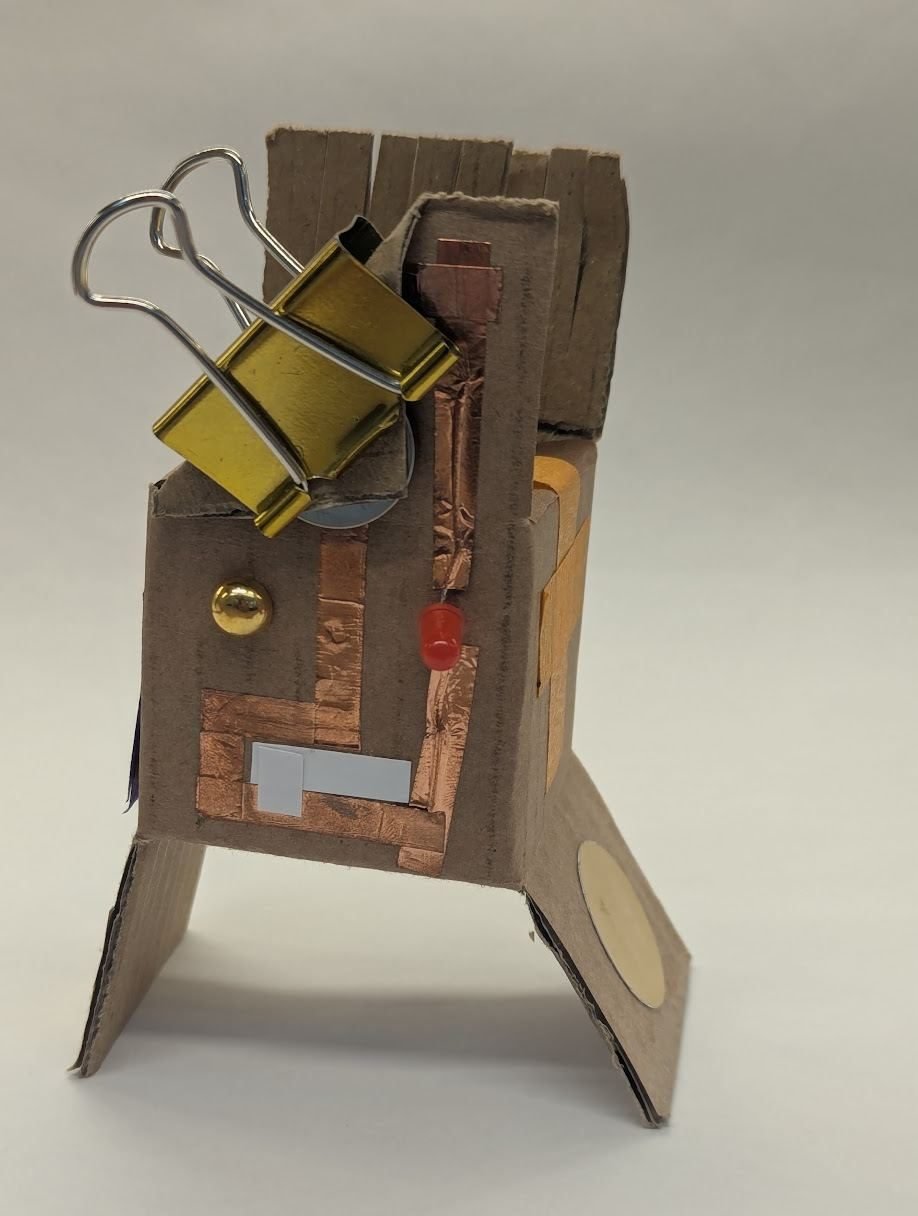
What others made
Your turn
Ideas to try
Make something else
- Robot eyeswith two LEDs side by side.
- A robot with a glowing heartin the middle of its chest.
- A lighthousewith the light at the top.
Then change something
- Add a second LED, long leg on the + strip. Do both light?
- Turn the LED round. What happens?
- Hold tissue paper or coloured cellophane over the LED. How does the light change?
- Use foil on the flap instead of copper. Does foil carry electricity?
More to make
Add to your robot
 Build a body
Make it roll!
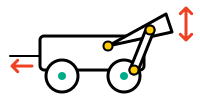
Glue your circuit to the front of a box with wheels, and it has a headlight.
 Give it a brain
micro:bit name badge
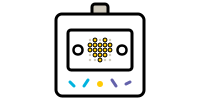
Glue LED eyes above a micro:bit, and its lights make a changing mouth.