







Give it a brain
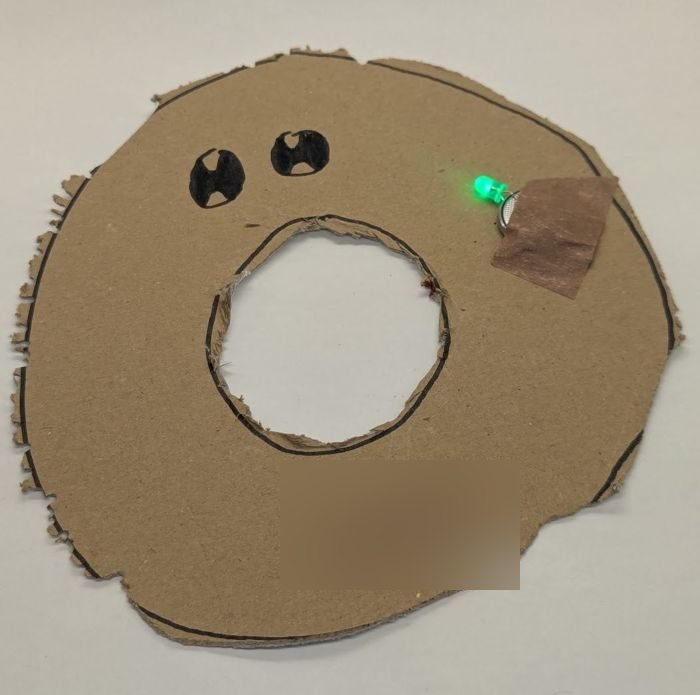
Light-up card with a paper circuit
Glue a circuit inside the cube, and the LED lights up the windows.
 Robot LabRobot Lab
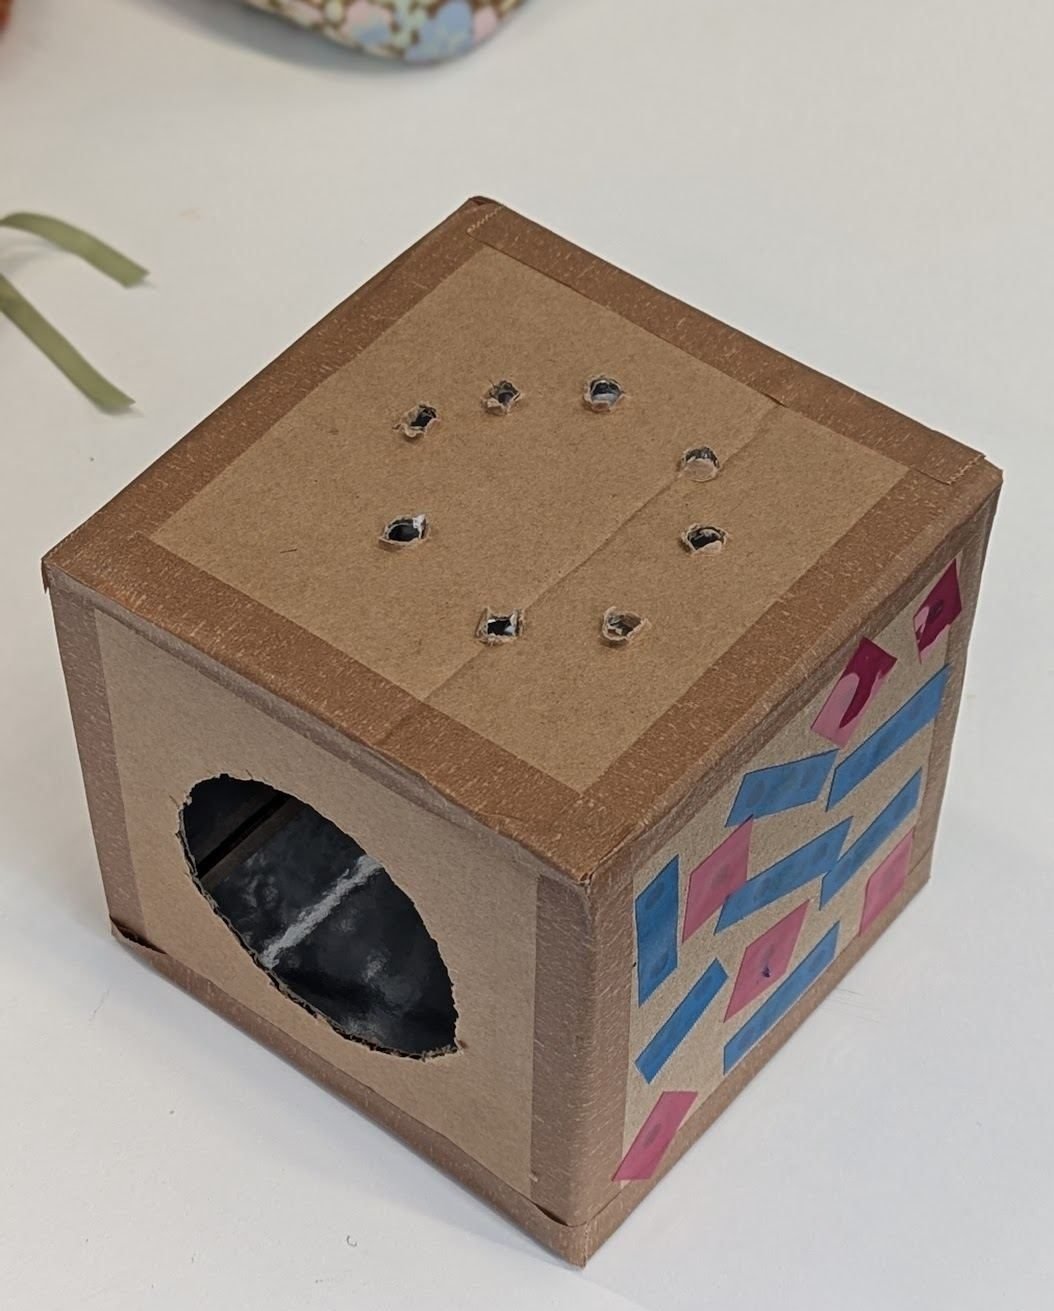
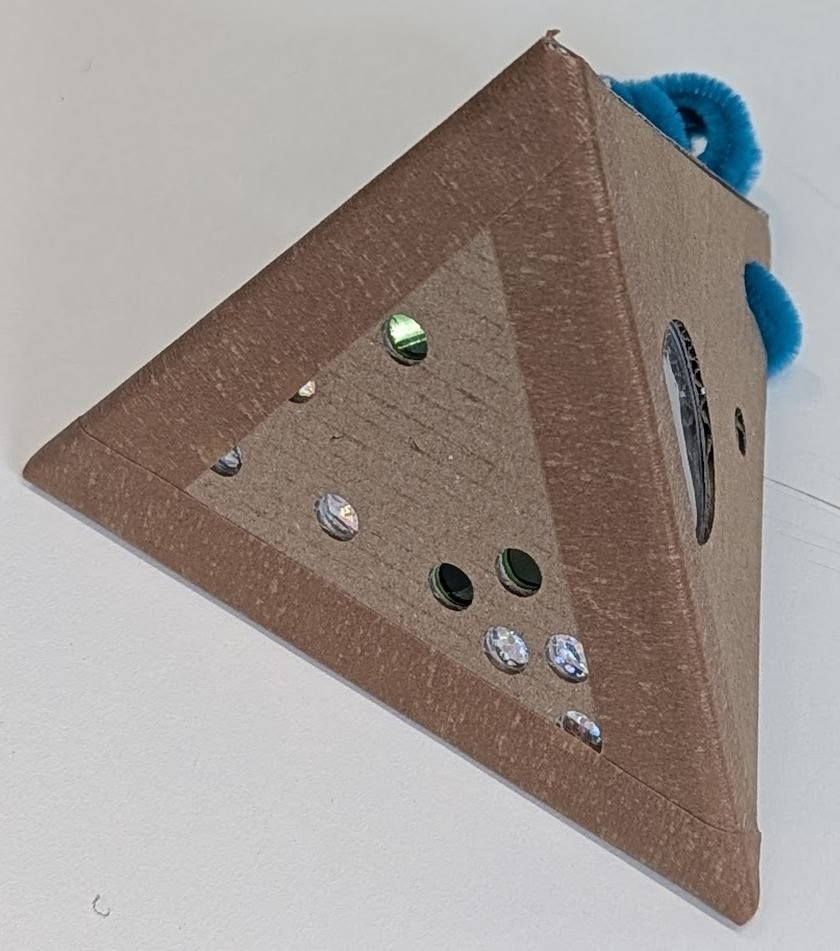
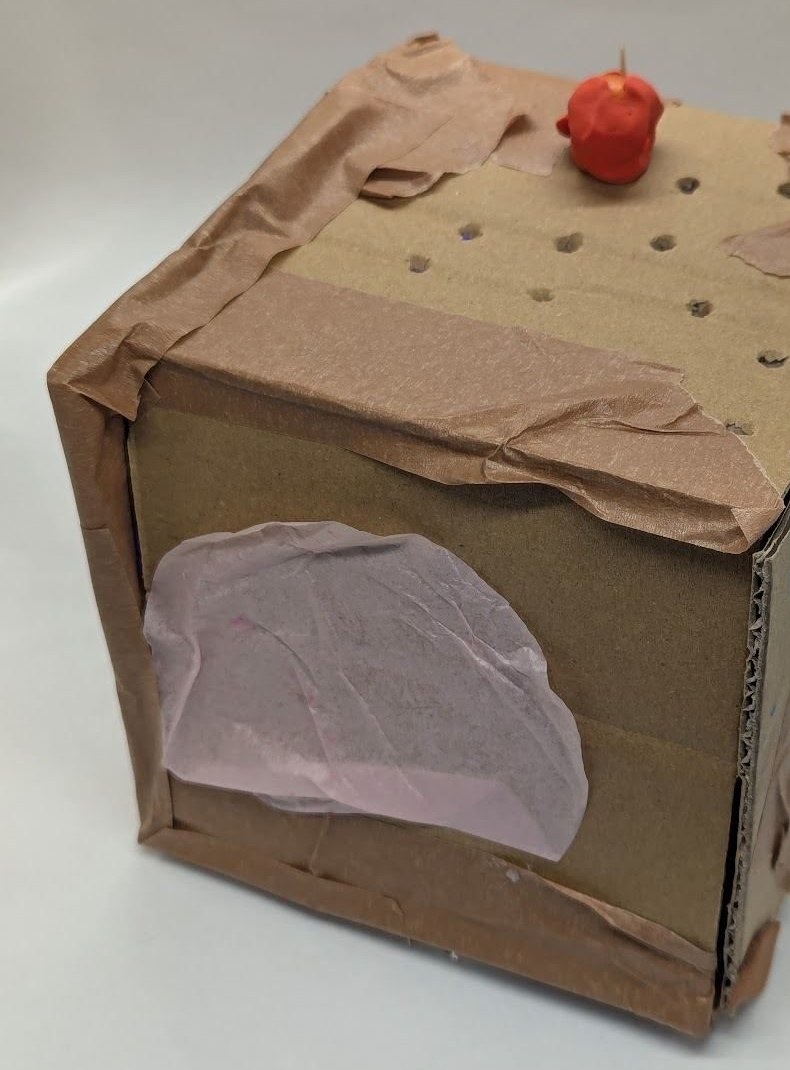
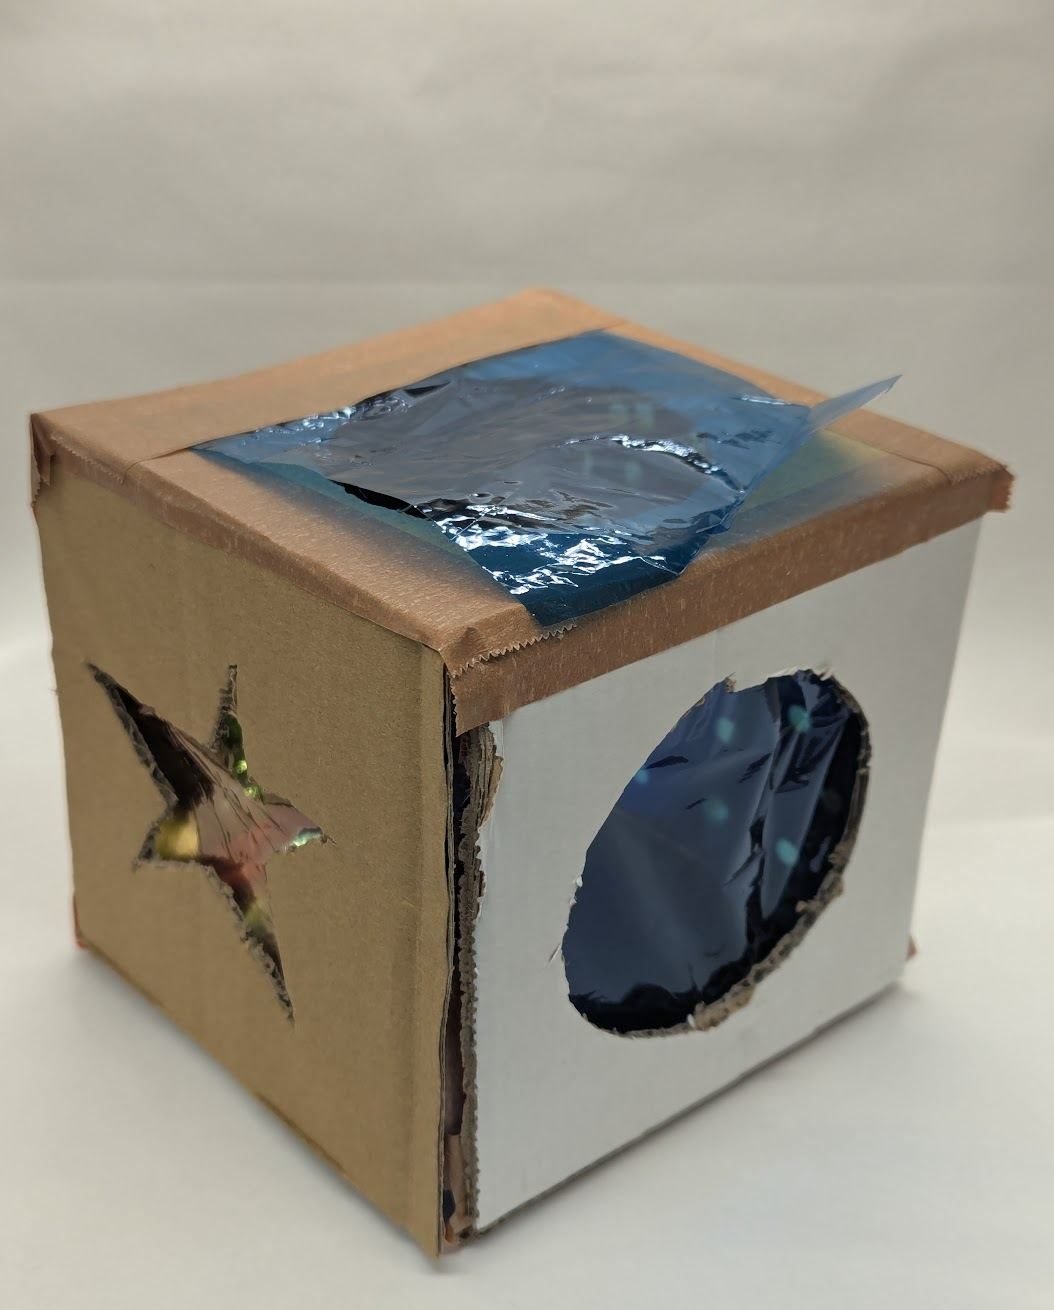
Tape card squares and triangles into a cube or a pyramid, and give it coloured windows that the light shines through, or line it with mirror card to make a kaleidoscope.
One step at a time, in big writing.
Before you start
Make it
Every side is 12cm, so any square fits next to any triangle.
Squares and triangles laid flat, edge to edge, make a net. Fold it up and tape the edges, and it becomes a 3D shape. Light comes through each window in that window's colour. Shiny card inside bounces the light back and forth, so a few sequins look like a whole pattern: that is a kaleidoscope.
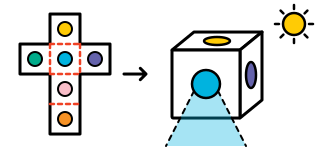
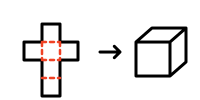
Use 6 squares for a cube or 4 triangles for a pyramid. Lay them flat, with the side you want on the outside facing up, each touching the next along a whole edge. For a cube, try a cross.
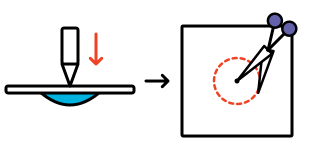
While the pieces are flat, lay one on the Blu Tack and push the pencil through the middle. Put your scissors in the hole and cut a window about 5cm across in a square, or 3cm in a triangle. Leave at least 2cm of card all round. Cut windows in as many pieces as you like.
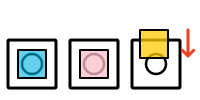
Rub glue round each window, on the side facing up. Press on cellophane or tissue paper, a different colour for each window.
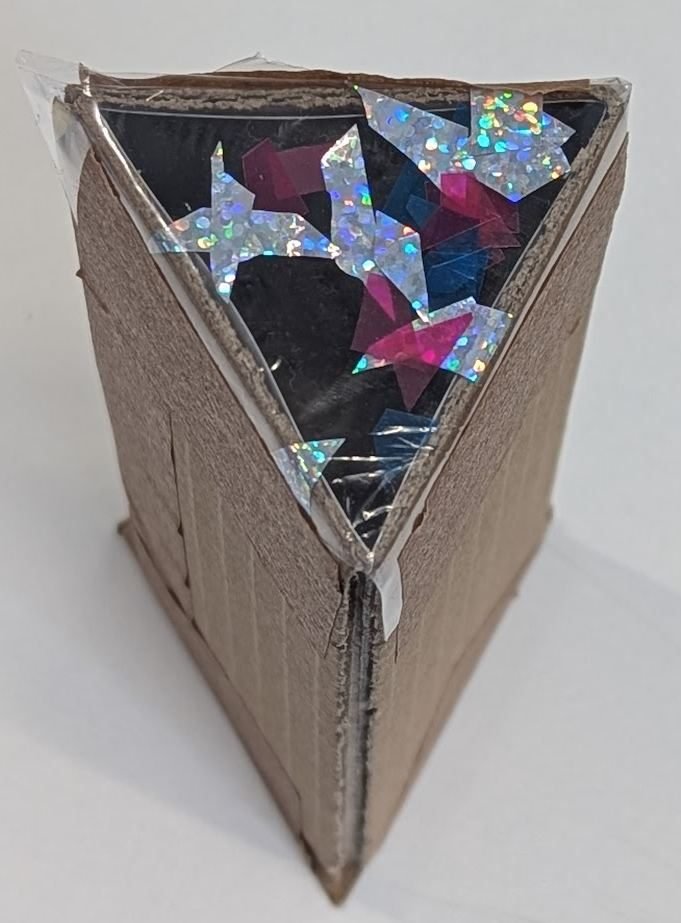
This step is optional. Glue mirror card or kitchen foil, shiny side up, on every piece except round the windows. Cover one window with clear cellophane, lay sequins or confetti on it and tape a second clear piece over them. In the opposite piece, make one small pencil hole to look through.
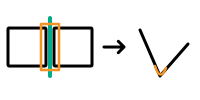
Lay the skewer in the gap between two pieces. Tape over it, pressing onto both pieces, then pull the skewer out. That small gap lets them fold. Do this at every join.
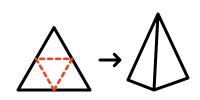
Turn the net tape side down and fold the pieces up until their edges meet. Tape one pair of edges at a time until it closes. To light it inside, leave three edges of the last face untaped as a lid. Are all the other edges taped?
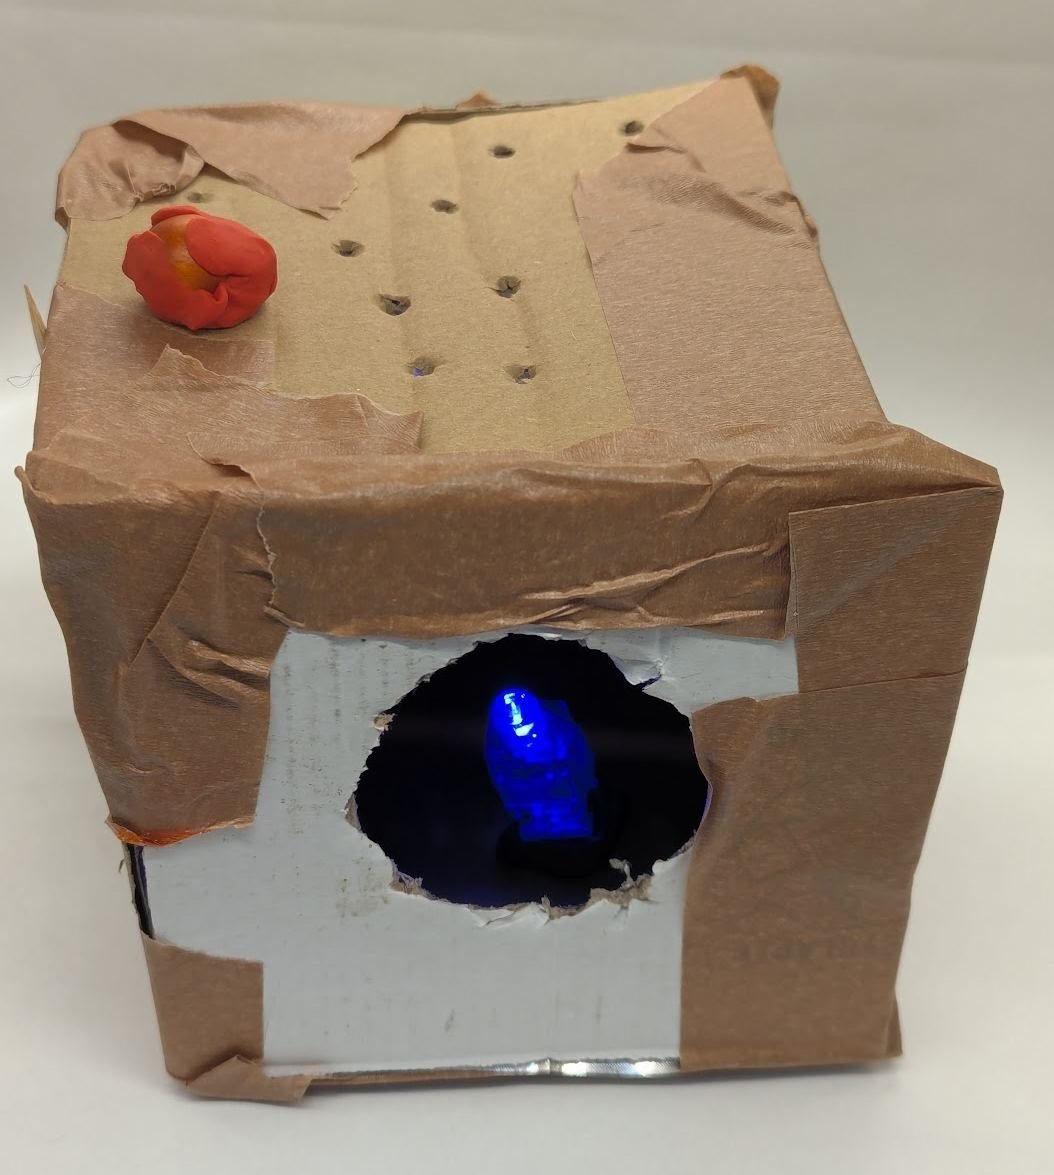
Hold your shape up to a bright window or lamp. Or put a finger torch inside, switch it on and close the lid. Which window lets the most light through?
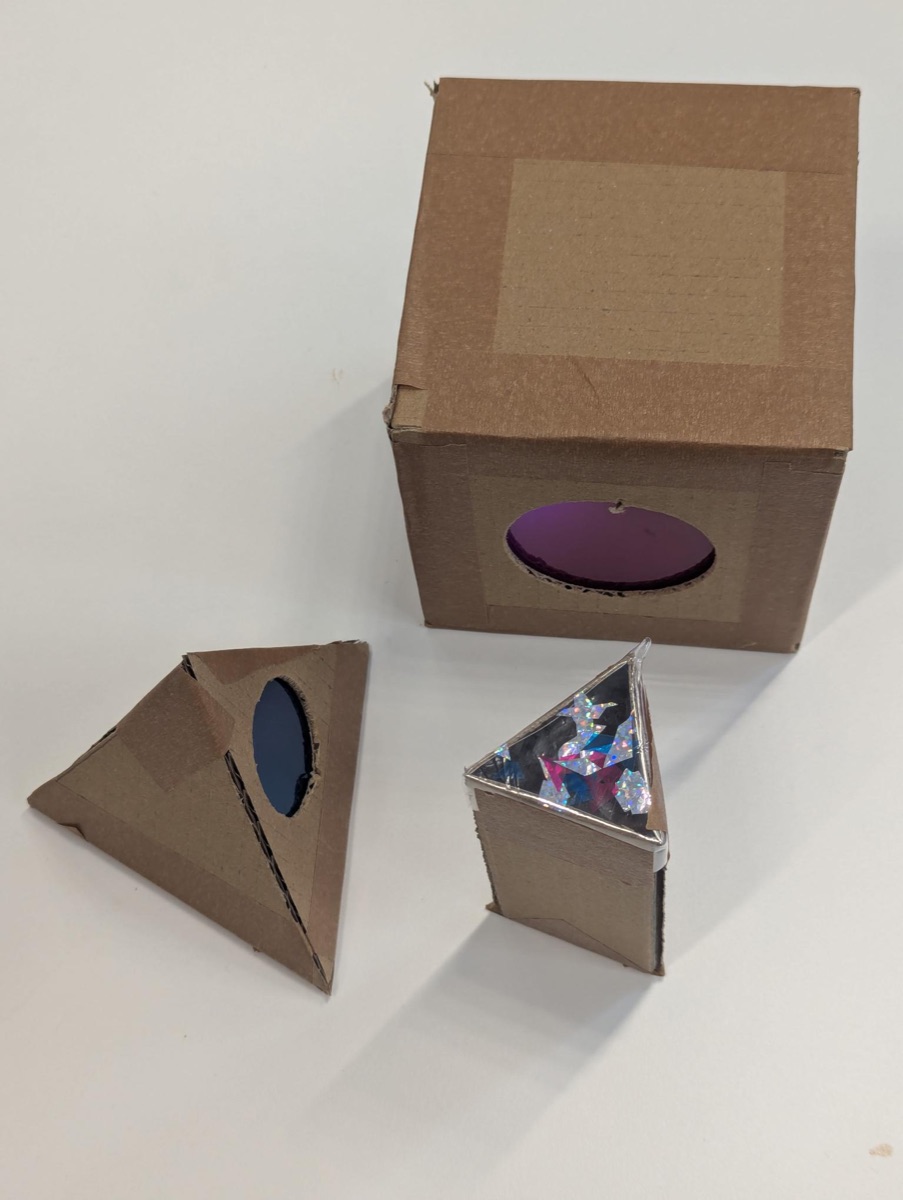
Invent your own 3D shape, mixing squares and triangles, or one for your robot's head. How many faces does it need to close?
After the steps
Make your robot's head from a cube with two windows for eyes, each a different colour. Put a finger torch inside, and the eyes glow.
For ideas
Your turn
More to make
Glue a circuit inside the cube, and the LED lights up the windows.
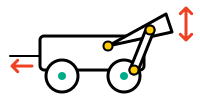
Put a small cube head on the crank, and it bobs when you turn the handle.