






Give it a brain

Build a cardboard robot

Build a box robot with a servo on each side, then code your micro:bit to move its arms for a torch, a clap, a touch or a shake.

  • About 1 hour 30 minutes
  • 9 steps

One step at a time, in big writing.

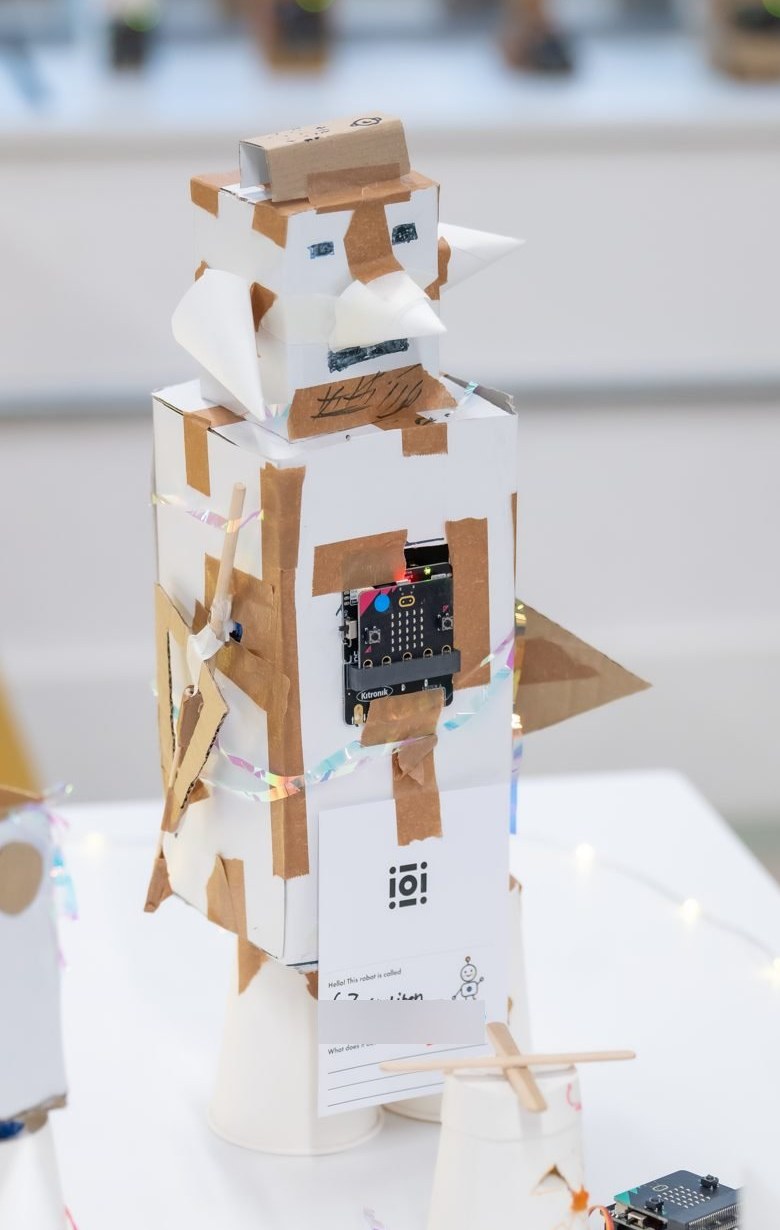
A tall robot made from white boxes and brown paper tape, with a cone nose, card wings, a micro:bit on its chest and a card arm on its side

Before you start

What you need

Tools

Materials

Make it

The steps

The spinning ribbons come from an artwork by Pinaffo and Pluvinage.

How it works

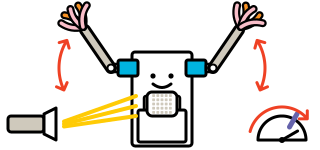
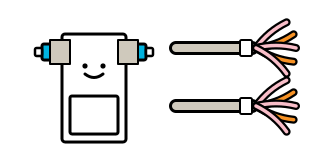
A servo is a small motor. A 180 degree servo turns to an angle, so its arm waves. A 360 degree servo spins until you stop it. The micro:bit can measure light, so your code can move the arms when a torch shines.

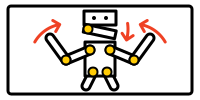
The robot from the front, with a torch shining yellow rays onto the micro:bit's lights. Beside it, a dial's needle has climbed past a marked line, and red arrows show both arms swinging their pompoms up and down.

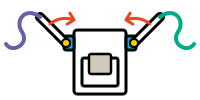
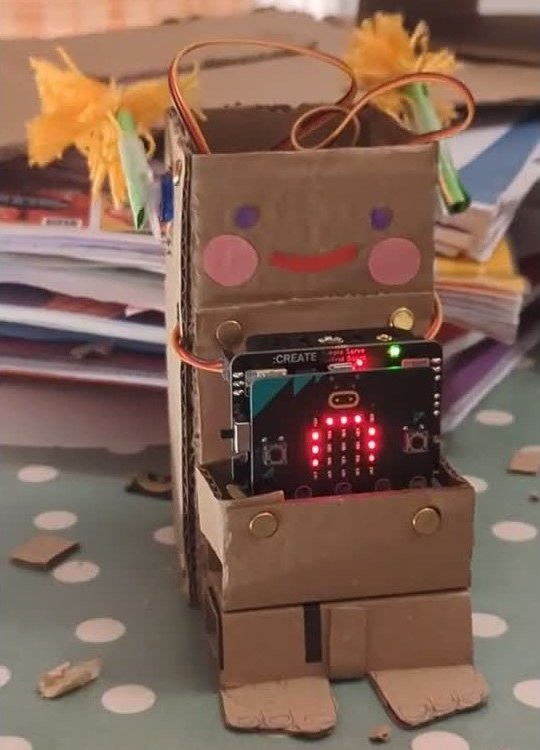
  1. A small upright box with a micro:bit in a pocket on its front and a servo near the top of each side, each turning a stick with a ribbon on its end, the left one clockwise and the right one anticlockwise

    Step 1: Choose your servos and arms

    Use two servos with the same label. For a 180 degree servo, tape a pompom of paper or wool strips to a lolly stick. For a 360 degree servo, tie a 50cm ribbon to the end of a lolly stick.

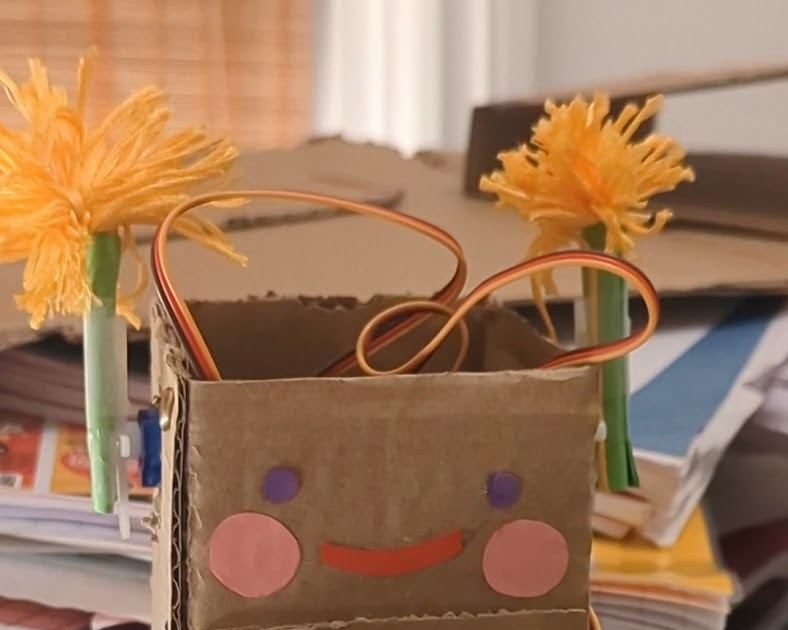
  2. A small upright box from the front, with a servo taped flat against each side near the top, its shaft pointing outwards and a strip of tape over it, a face drawn on the front and a card pocket taped below it. Beside the box are two lolly sticks, each with a bunch of paper strips taped to one end.

    Step 2: Build the body

    Stand a small box upright. Tape a servo flat against each side near the top, shaft pointing out, and wrap tape round the box so it cannot twist. Fold the 10 by 6cm card into an open pocket and tape it to the front, lower down, for the servo board. Draw a face above it.

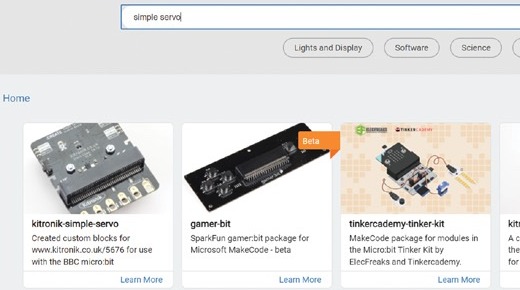
  3. The MakeCode extensions search box with simple servo typed in it, and the kitronik-simple-servo extension first in the results

    Step 3: Start a project with the servo blocks

    Go to makecode.microbit.org in Chrome or Edge, click New Project and call it robot. Click Extensions, at the bottom of the block menus, search for simple servo and click kitronik-simple-servo. A green Servo menu appears. Plug in the micro:bit with the USB cable, click the three dots next to Download, then Connect device, and follow the steps.

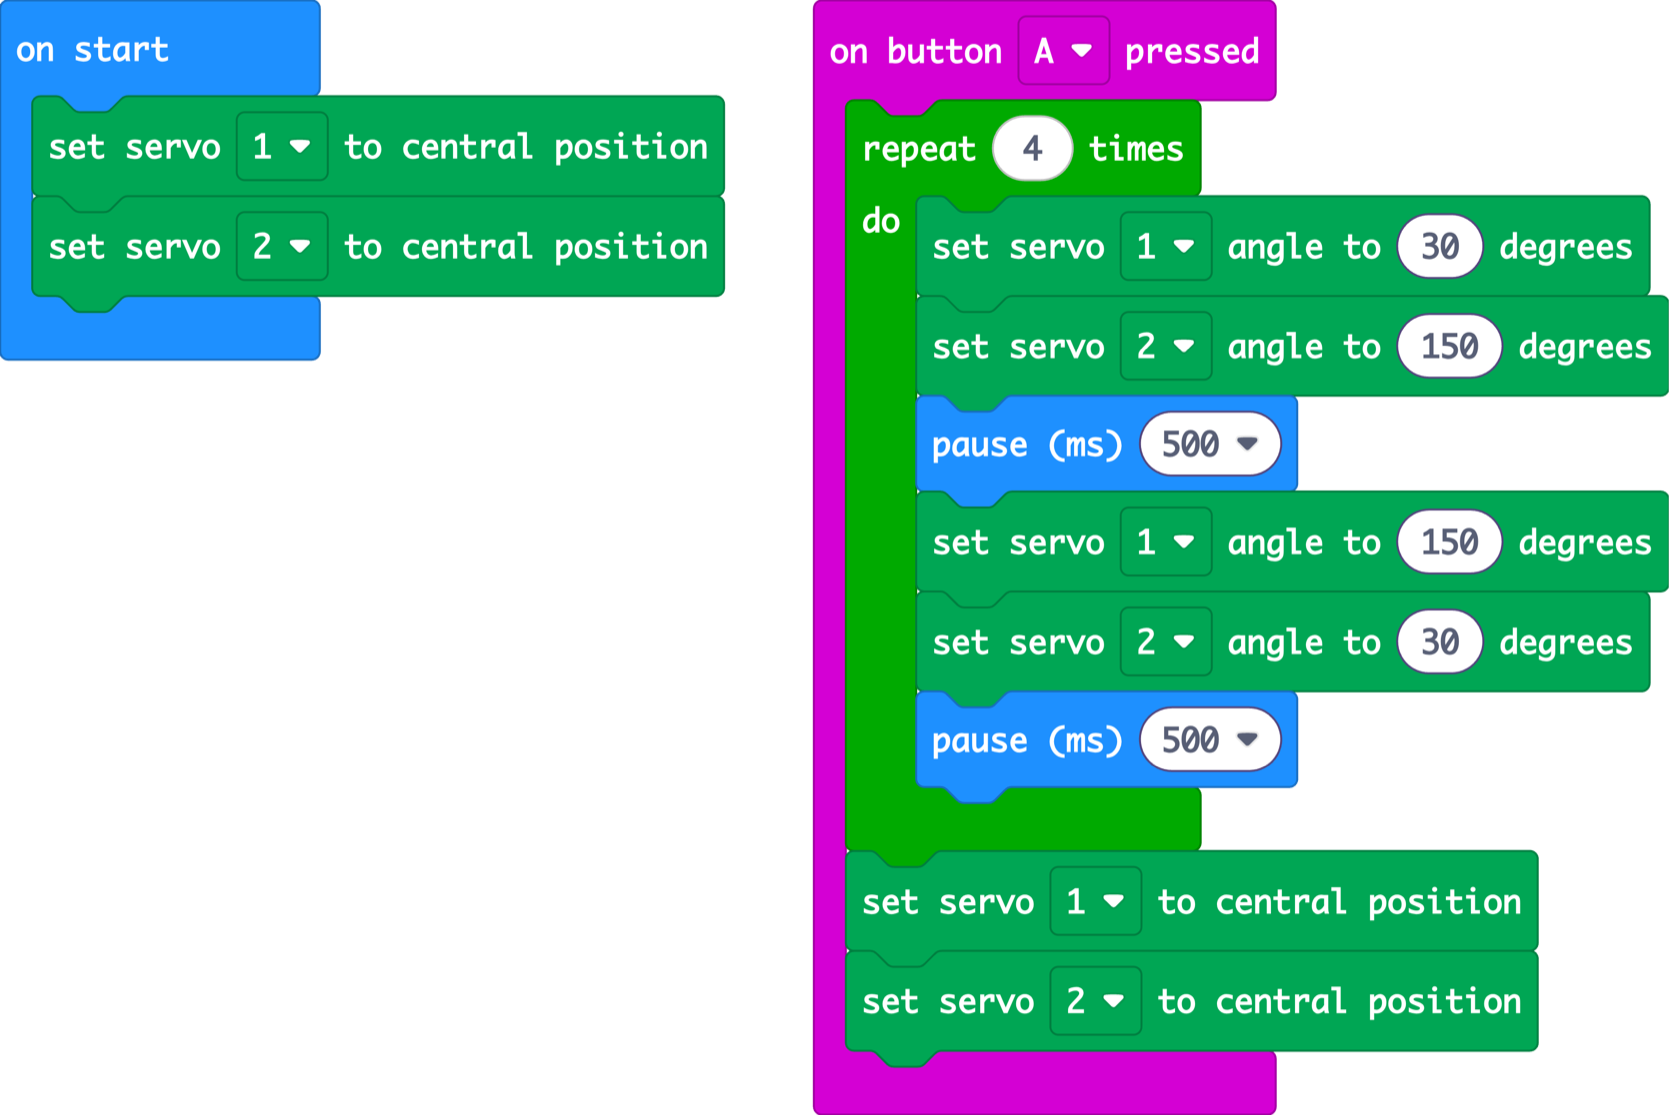
  4. The blocks: on start holding set servo 1 and set servo 2 to central position, and on button A pressed, holding repeat 4 times; inside the loop, set servo 1 angle to 30 and servo 2 to 150, a pause of 500, then servo 1 to 150 and servo 2 to 30, and a pause of 500; after the loop, set servo 1 and servo 2 to central position

    Step 4: Code the arms

    Put set servo 1 to central position and set servo 2 to central position from Servo into on start. Drag in on button A pressed from Input, put repeat 4 times from Loops inside it, and build the blocks in the picture. When servo 1 has 30, servo 2 has 150: the servos face opposite ways, so both arms swing up together.

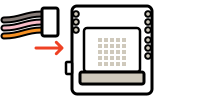
  5. The servo board from the front, with the micro:bit in its slot. The servo's plug, with its brown wire at the top, then the middle wire, then the orange wire at the bottom, is pushed onto the three Servo 1 pins on the top left edge of the board. The on and off switch is on the left edge, below the pins.

    Step 5: Connect the servo board and press A

    Click Download, then unplug the USB cable. Switch the board off and put 3 AA batteries in the back, matching the + and − marks. Push the micro:bit into the board, lights facing out. Plug the left servo into Servo 1 and the right into Servo 2, brown wire at the top. Switch on: waving servos turn to the middle. Push a plastic arm onto each servo, tape a stick to it pointing up, put the board in its pocket and press A. Do both arms move?

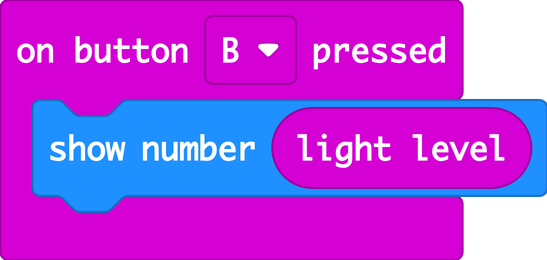
  6. The blocks: on button B pressed, holding show number with light level in it

    Step 6: Measure the light

    Drag in another on button A pressed and change A to B. Put show number from Basic inside it, with light level from Input in the number. Switch the board off, plug the USB cable into the computer, click Download, unplug and switch on: do this every time you change your code. Press B, then press it again with a torch on the lights. Write down both numbers.

  7. Step 7: Check for the torch

    Put if then from Logic inside forever. Drop 0 < 0 from Logic onto true and change < to >. Put light level from Input in the left box, and a number between your two readings in the right: for 20 and 200, try 100.

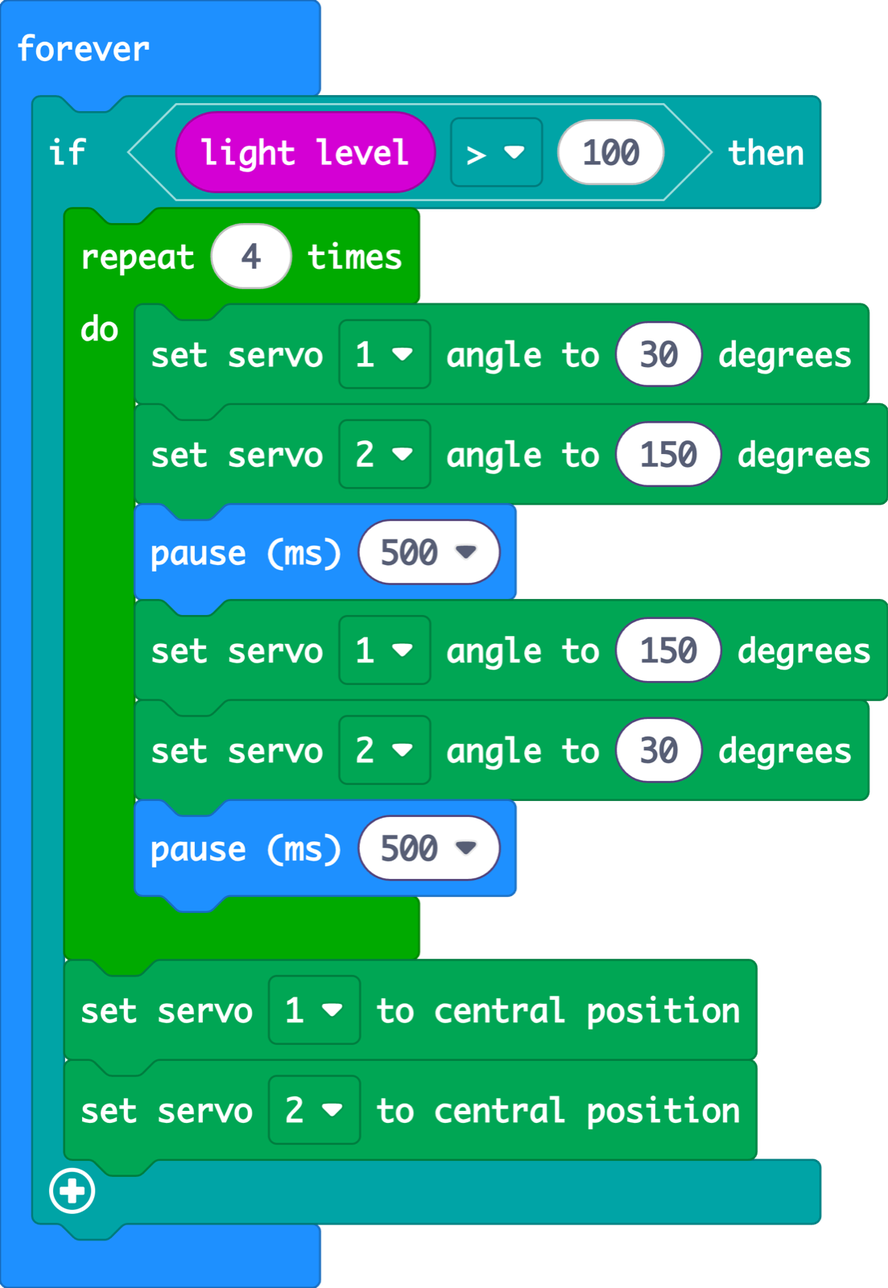
  8. The blocks: forever, holding if light level is greater than 100 then; inside it, the repeat 4 times loop with the four servo blocks and two pauses, then both servos set to central position

    Step 8: Move when the torch shines

    Drag the top block out of on button A pressed into if: the blocks under it come too. Download, switch on and shine the torch. Do the arms move?

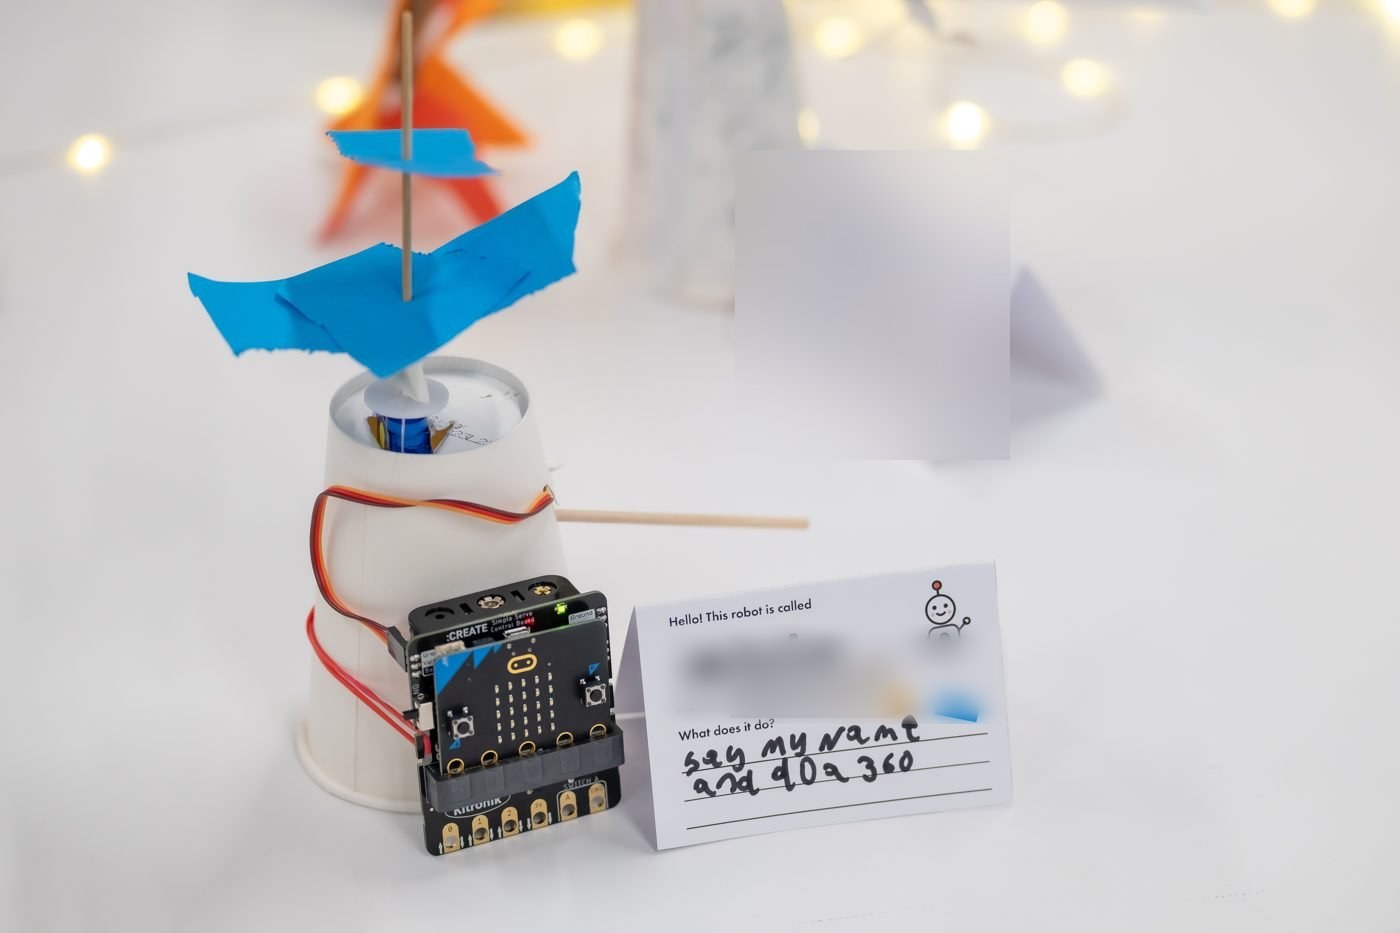
  9. A paper cup robot with a blue tape sail on a stick, turned all the way round by a servo inside the cup, with a micro:bit in its servo board in front and its name card beside it

    Step 9: Invent your own

    Make your own robot. What will it sense, and what will it do?

After the steps

Use it on your robot

Every robot is a sense joined to an action. Put the moving blocks inside the sense that suits your robot, and it reacts on its own.

For ideas

Your turn

Ideas to try

Make something else

  • A conductorwith two batons.
  • A football fanspinning ribbons in its team's colours.
  • A doorbell robotthat waves when someone knocks on the table.
  • A windmillwith card sails on a spinning servo.

Then change something

  1. Change repeat 4 times to 10. How long does your robot move for now?
  2. On waving servos, give both servos 30, then 150. How do the arms move now?
  3. Put a show icon with a face before the loop. What face does your robot pull?
  4. Change the 4 in repeat 4 times to pick random 2 to 6, from Math. Does your robot move the same every time?

iOi challenge

Make your robot do one move for a torch and another when you shake it.

More to make

  • Build a body

    Kinetic shapes

    Pin card strips together and tape one to a servo arm, and your robot's arm gets an elbow.

    • About 40 minutes
  • Build a body

    Kaleidoscope boxes

    Tape a cube on top of the box, and your robot gets a head with coloured windows for eyes.
    • About 45 minutes
  • Build a body

    Make it roll!

    Tape straws and wheels under the box, and your robot can roll.

    • About 40 minutes